
The Process of Making Custom Shaped Acrylic Tags: Step-by-Step Guide
Custom shaped acrylic tags are popular for their versatility, durability, and unique branding opportunities. Creating these tags involves several precise steps to ensure a high-quality, visually appealing final product that meets your specific needs. Let’s explore the typical production process from concept to finished tag.
1. Design and Artwork Preparation
The process begins with a clear design concept:
-
Client Input: You provide the shape, size, logo, text, and any other design elements.
-
File Creation: Designers create vector files (AI, SVG, or DXF formats) outlining the tag shape and artwork.
-
Proofing: A digital proof or 3D render is shared for client approval, ensuring accurate shape, text placement, and colors.
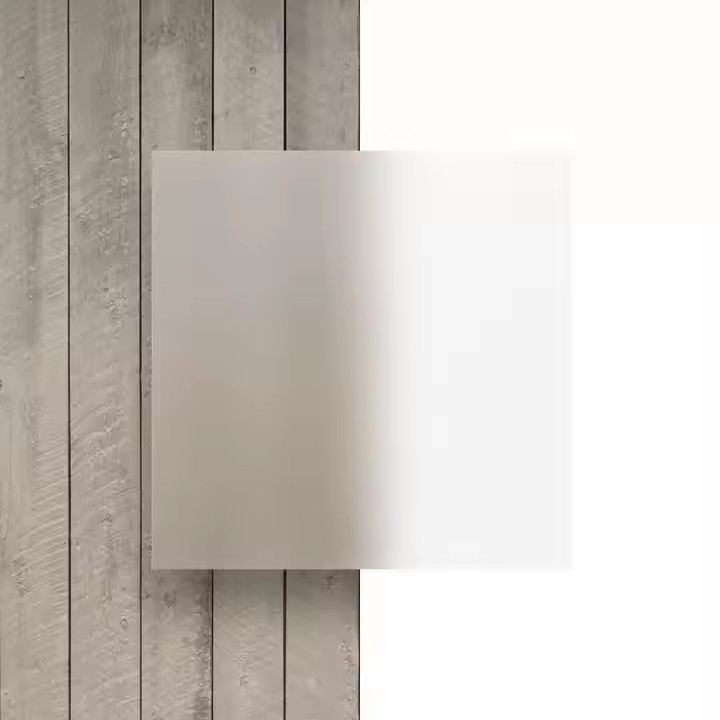
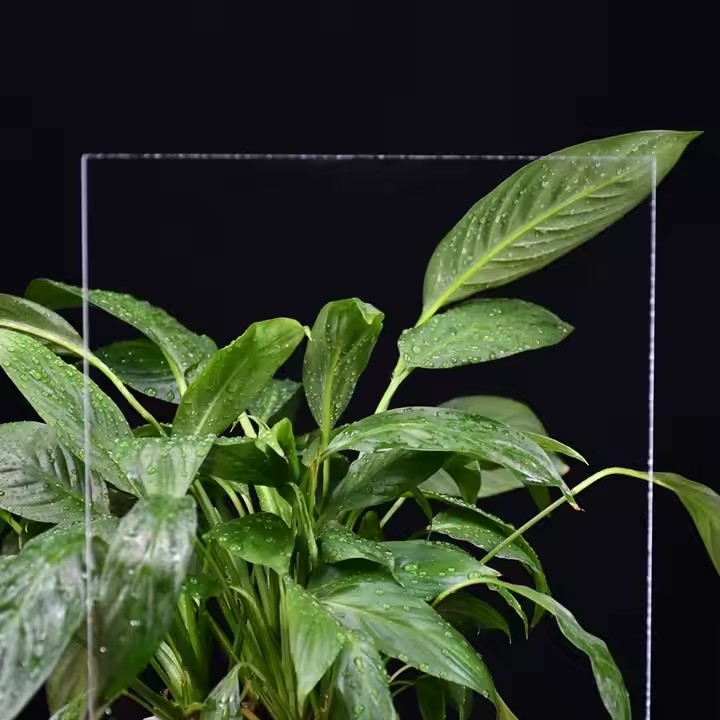
2. Material Selection
Choosing the right acrylic material is crucial:
-
Thickness: Commonly 2mm to 6mm depending on durability and aesthetics.
-
Color Options: Clear, frosted, colored, mirrored, or layered acrylic sheets.
-
Finish: Glossy, matte, or textured surfaces to match design requirements.
3. Cutting the Acrylic
Precision cutting brings the design to life:
-
Laser Cutting: The most common method, which allows for intricate shapes with smooth edges and high accuracy.
-
CNC Routing: Used for thicker sheets or when specific edge profiles are required.
-
Cutouts and Holes: Additional features such as hanging holes or slots are incorporated during cutting.
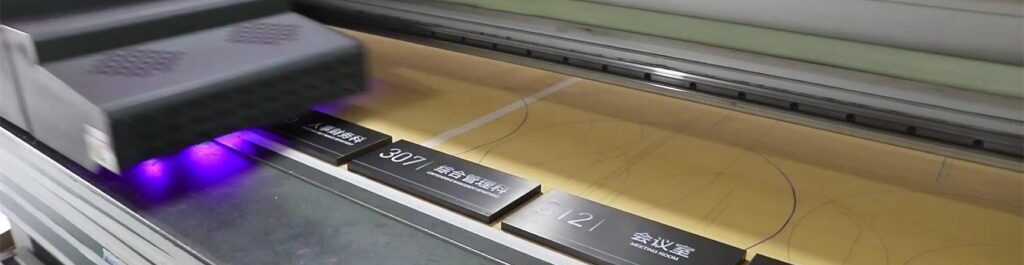
4. Engraving and Printing
Adding graphics, text, or logos enhances tag functionality:
-
Laser Engraving: Creates a clean, etched effect ideal for logos and serial numbers.
-
UV Printing: Applies full-color images or text directly onto the acrylic surface.
-
Vinyl Application: Sometimes used for bold colors or textured finishes.
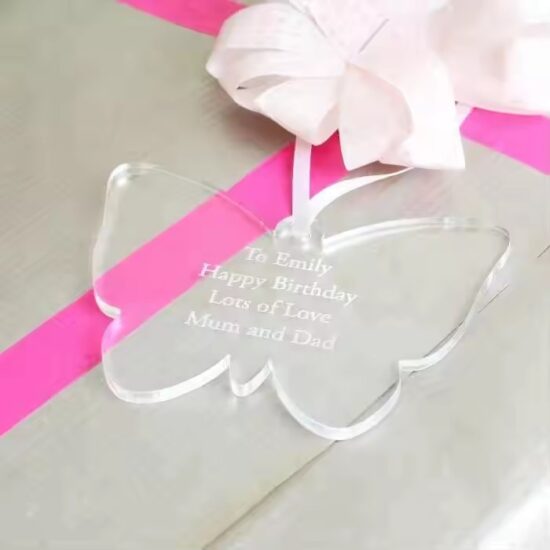
5. Finishing Touches
Final processing ensures durability and polish:
-
Edge Polishing: Smooths and shines edges, enhancing the premium look.
-
Beveling: Adds angled edges for a refined appearance.
-
Protective Coatings: Scratch-resistant or UV coatings extend lifespan.
-
Assembly: Adding hardware like chains, adhesives, magnets, or mounting brackets.
6. Quality Control and Packaging
Before shipment:
-
Inspection: Each tag is checked for accuracy in shape, print quality, and finish.
-
Packaging: Tags are carefully packaged to prevent damage during transit.
✅ Final Thoughts
Making custom shaped acrylic tags is a meticulous process combining technology, craftsmanship, and design collaboration. Understanding each step helps you communicate your needs clearly and ensures the end product matches your vision perfectly.
Whether you need tags for branding, events, retail, or industrial use, partnering with an experienced manufacturer will streamline the process and deliver outstanding results.